3D print removal tools are super helpful for removing printed objects that are stuck to your printer bed. Without them, you will have to pry the print off with your bare hands, which can damage the printed object and the printer bed. That’s no fun.
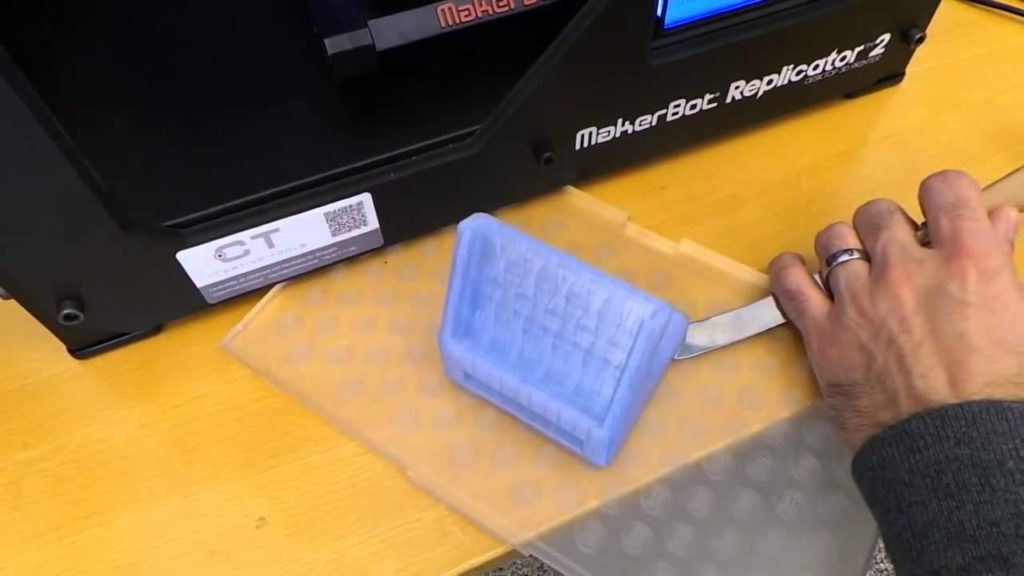
The best method for removing a print involves using a small spatula to pry the print off of the bed. Just slide the tool under the print and give a twist or push. The print usually pops right off.
The most popular print removal spatula is the Dickale 3D Print Removal Tool. Here’s why people like it so much:
- Offset blade so you can get a good angle under the print
- 5-inches long and useful for larger prints
- Wooden handle with sturdy grip
- Flexible blade for leverage
It’s also just a well-made tool in general and very cheap. This tool will make your 3D printing life a lot easier and save you many hours of grief in the long run.


How To Remove 3D Print From Bed (For 3D Prints Stuck To Bed)
A common problem that many beginner 3D printers have is that their 3D prints get stuck to the bed of their printer. This often happens with ABS prints or print surfaces and adhesives that are particularly strong.
Sometimes a gentle twist or pull is enough to pry the print loose.
Other times the prints are stuck so strongly to the bed that you have to use your full strength to pry them off. But if your print is fragile or you are worried about damaging your printer, yanking on a stuck print might not be the best idea.
So what should you do?
Here are a few tried and true methods for removing even the most stubbornly attached prints:
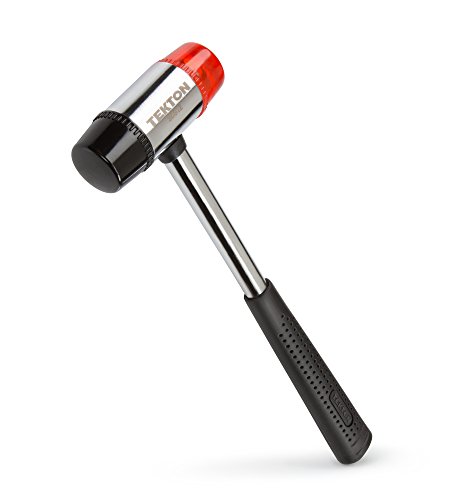
1. Rubber Mallet
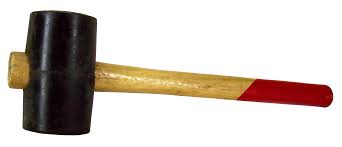 If you have a rubber mallet handy and your print has a hard flat surface, you can give it a good sideways whack. But be careful! Don’t do this unless the print has enough infill that it can take a good knock without shattering.


You can also try placing a wide, thin piece of wood, such as a ruler, along the base of the print and then gently tap on the back of it with the mallet. The mallet will give you control over the amount of force that you apply and the ruler will distribute the force along the bottom edge of the print, which will hopefully lift the print off of the bed.
Just be careful not to break the ruler – they are very thin and not built to handle much force, so they shatter easily.
2. Cool The Print
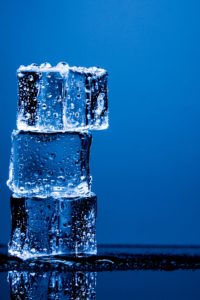 Possibly the fastest way to remove a print from the printer bed is to take the bed off of the printer and put a few ice cubes on the under side of the glass under the print. After a while, the print should just pop off of the bed.
How does this work?
When the print is finished printing, the plastic will begin to contract. The faster and more drastic this contraction happens, the looser the bond between the build plate and the bottom of the print will be.
Another method is to place the entire build plate into a fridge after the print is finished. This will cause the print to contract to the maximum extent and loosen the bond with the build plate as much as possible.
Just make sure that you let the print bed cool off a bit first if it is made of glass. If you put a hot glass printer bed into the fridge, it might crack.
Finally, a super simple way of removing prints from printer beds using temperature differences is to point a fan at the print when it is finished. Sometimes that is enough to cool it and make use of the contraction of the plastic.
3. Last Option: Solvents
The last option for a print that is stuck to the build plate and won’t come off no matter what is to dissolve the bottom of the plastic with a solvent. You can also put a solvent on the build surface that dissolves any adhesive you might have used.

For instance, water dissolves Elmer’s glue, so you could put some water on the plate and see if that helps.
We’ve put together a list of the best solvents for ABS plastic. Nail polish remover (acetone) is a common solvent for ABS that you might have around the house.
Be careful with the other chemicals on that list because some of them are very dangerous and might not be suitable for use in your home or around children.
Table could not be displayed.Quick Question: Why Do You Need A Specific Tool? Can You Just Use A Razor Blade Or Screw Driver?
A question that comes up often when discussing print removal tools is why you even need one in the first place. Why can’t you just use a screw driver or a razor blade?
The basic answer is that razor blades and screw drivers are more likely to damage your 3D printer. Also, print removal tools are optimized to get underneath the lip of a 3D print without braking the print or the bed.
There are several factors that are included in the design of these tools that make them superior to other similar tools:
- Angle of the handle – the angle of the handle often determines whether you can lay the blade flat against the surface of the bed or not. If the handle is in the way, the blade will have a small angle and won’t be able to lie flat on the bed and this can affect the amount of leverage you can get with it.
- Width and thinness of the blade – other tools like screw drivers and wood awls often have narrow, thick blades that focus the applied force on one small area of the print. That can cause the print to crack and increases the likelihood that you will scratch the bed.
- Flexibility – tools like pallet knives and razor blades are not very flexible and will either snap or crack the plastic or bed that it is pressing against. Print removal tools are often design to be flexible enough to not snap, and this allows you to get better leverage when sliding it under a print.
WARNING: DON’T USE A SCREW DRIVER OR RAZOR BLADE
It might be tempting to use a screw driver instead of a print removal tool, but screw drivers are not wide enough to distribute the force of you pushing along the base of the print. And with all of that force focused on the small area at the end of the screw driver, you are more likely to scratch the bed of your printer or brake your print.
Similarly, a razor blade might look like an attractive option. But not only do razor blades shatter easily, they also are likely to scratch the print bed or scrape any coating you have on the bed, such as an adhesive to keep your print stuck to the bed and prevent warping.
For some reason, a lot of articles about 3D print removal tools recommend using a screw driver or a razor blade, but don’t listen to them. As any 3D printing expert will tell you, razors and screw drivers are bad news. Just stick with print removal spatulas since that’s what they are there for.
Best 3D Print Removal Tools
Keep in mind that most 3D print removal spatulas are similar, but the small differences can have a huge impact on your experience using them.
For instance, most of them have sturdy handles made of hard plastic or wood and a metal blade. But the thickness of the blade and the angle of the handle can determine whether the tool will be able to slip easily under the print without scratching the printer bed.
Below is a list of other 3D print removal tools that are worth checking out. They are all verified and reviewed below, so scroll down the list for more information.
Before we dive into the best 3D print removal tools, let’s go over the basics of how to remove 3D prints from beds. There are some tried and true methods for getting prints off, and there are also well-known mistakes that you can make that will ruin your print.
All of these methods are enhanced by using a print removal spatula. You can use these methods without one, but a pallet knife or spatula from this article will help a lot.
Gizmo Dorks 3D Print Removal Tools, 5-inch

The best feature of the Gizmo Dorks print removal tool is the offset blade. An offset blade is a blade that has a bend in it instead of coming straight out of the handle.
That allows your to put the blade flat against the printer bed without the handle getting in the way. That makes it a lot easier to get underneath the print and pry it off.
The handle is made of a strong hard wood and has ridges so that you can grip it well. The blade is also flexible but strong so that you can get leverage under the print.
Just be careful not to scratch or damage the printer bed by applying too much force to the blade.
At 5 inches long, the blade on this print removal tool is ideal for removing large prints. For smaller prints, the longer flexible blade will work well.
It might be a bit harder to get enough force under small prints that are stuck hard to the bed. Other tools below might be better for using with smaller prints.
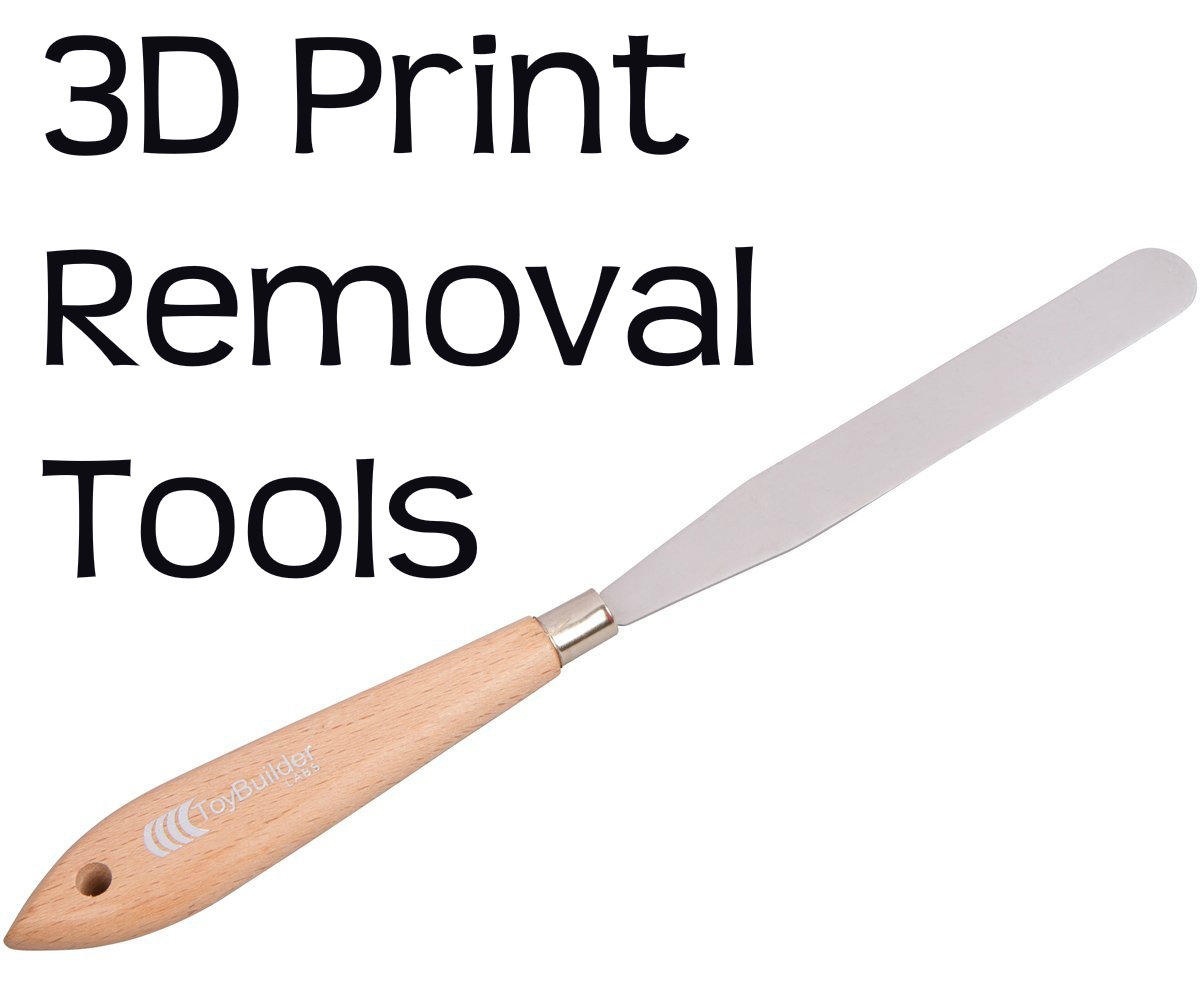
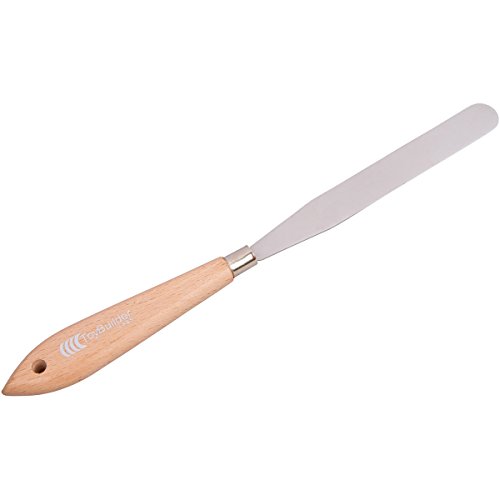
ToyBuilder Labs 3D Print Removal Tools

The ToyBuilder 3D print removal tool is easily the cheapest and most popular print removal tool around. Hundreds of people have given it 5 stars on Amazon, so if you are looking for a low cost reliable tool, this is the one for you.
The blade on this tool is sharp and thin. That makes it easy to slip under the edge of a stubborn print and pop it off of the build plate.
Make sure you don’t use an angle that is too steep or you will damage the printer bed with this sharp blade.
This tool is ideal for kids to use, with parent’s discretion. Just make sure you are gentle with it – it isn’t a tool that you should use to pry a print off of the bed.
Instead, simply slide it under a corner or lip of the print and the entire object will pop off of the bed.
It is also one of the cheapest tools available, and it has the best price/quality ratio of the tools one this list. It is well worth the few extra dollars.
Foreasy 3D Print Removal Tools Set

This set of 2 print removal spatulas solves the problem that other tools have: smaller prints are sometimes harder to remove with longer blades. With this set of one long blade and one shorter blade, you have options.
If you used glue or any other adhesive, chances are the print will be welded onto the bed. The smaller of the two tools is very useful for applying some force to detach a stubborn print off of the print surface.
Many people start with the smaller blade to lift an edge off of the printer bed and the slide the larger blade in underneath the rest of the print. The blades are sharp but if you want them to be thinner and sharper, you can easily sharpen them yourself.
The smaller blade is especially useful when it is sharp. It can get in under the lip of a print much more easily than the longer blade.
The shorter tool is also especially good for removing PETG prints since the other longer blades on this list are prone to bending and twisting. Same goes for ABS that is glued onto the print bed.
The longer blades may bend under pressure. But the shorter blade in this set will have no problems.
BuildTak Spatula

The vertical handle on this 3D print removal spatula may look strange, but it makes print removal very easy. The blade can get right up against the build plate, making it super easy to slip under the print.
Unlike other tools with horizontal handles, your knuckles won’t scrape against the printer bed.
The extra wide blade is also a major help because the extra surface area can detach more of the print from the bed with one movement. That means you can get more use out of the tool with each push of the blade.
The only downside to this tool is that it isn’t very sharp, although most people don’t seem to have an issue with this. If you want a sharper edge, you can easily shave one side of the blade down with a file or other rough surface.
Another solution is to purchase the short Foreasy print removal tool and use it’s sharper edge to get under the edge of a print. Then you can detach the rest with the BuildTak Spatula.
Final Word: 3D Print removal tools
This list gives a good overview of the best options for 3D print removal tools on Amazon. None of these tools are expensive and they will save you a lot of trouble in the long run.
If you need to remove a print that is stuck and you don’t have a print removal tool already, try cooling the print with ice and then gently twisting it or tapping on it with a mallet. Avoid using screw drivers and tools that that are not specifically built for working with 3D prints.
Happy printing!